You should have told that at the first place. Do these images be dynamic based on a value in your data? Like a logo of something?
1 Like
Dear Didikunz, like you told.
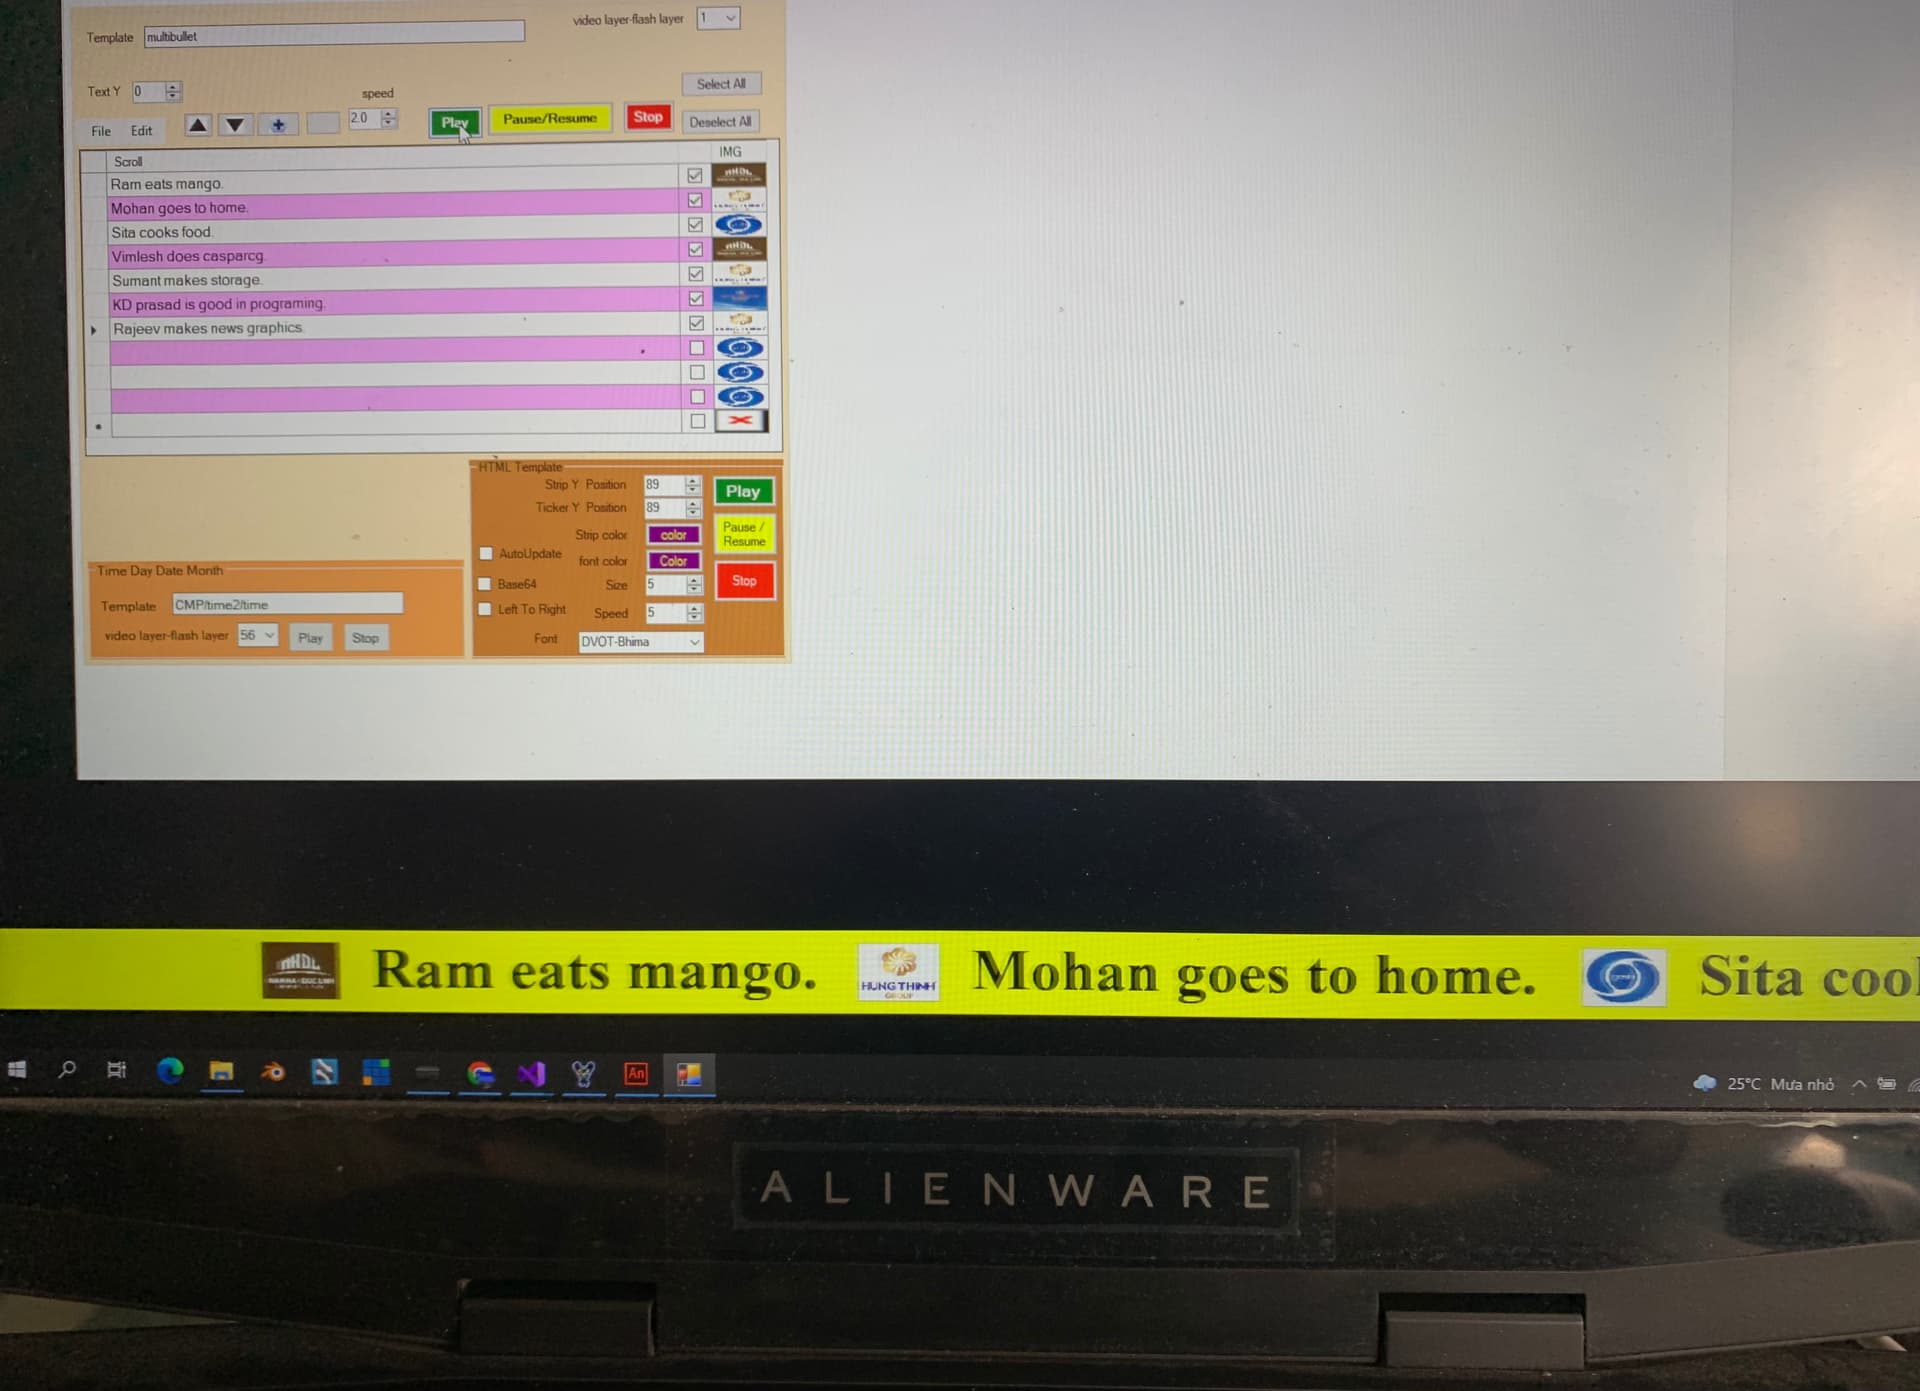
From html crawler of Ivan, I easy use but when use symbol # ( no need name of image ) to insert image to this html.
From this file of Ivan you can put symbol # any where and in casparcg will replace image to crawl html file.
I want to use # 1 is logo 1, # 2 is logo 2 and more.
Like multi bullet scroll of CMP playout.
In flat producer I can do but in html I can’t do it.
Sorry about for my explain not good for easy understand
I don’t understand exactly what you are looking for, but I suggest you take a look at the Composition action code. There are basically a few lines of Javascript that do the symbol-image replacement job, so it should not be complicated just to modify that code to achieve the result you want.
Hi, is it possible to do conditional elements…
Here is an example…
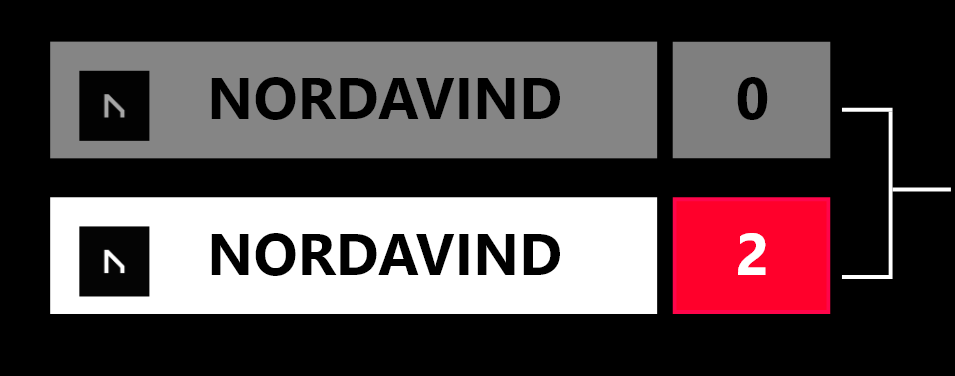
I have a bracket where one of the score boxes is set to 0 (loss in my case since it is lower total than the one under), then that element/team box’s backgrounds opacity is changed from 100 to 80 or something…
Then for the winning team the score box changes color from to highlight that they are the winner and the background of the team box still stays at 100.
Thanks!
Hi, yes, this is possible. But you will need some Javascript knowledge.
Idea: in the Composition action, write a code that will be triggered on every score update. For example:
loopic.useOnUpdate("_t1score", (dynamicId, value, next) => {
   checkScores();
});
Duplicate this for _t2score as well.
Now define checkScores function, and some other helper functions like the functions for setting the team scores to red:
function checkScores() {
   if (parseInt(loopic.templateData["_t1score"]) > parseInt(loopic.templateData["_t2score"])) {
      setHomeTeamRed();
   } else {
      setAwayTeamRed();
   }
}

function setHomeTeamRed() {
   const homeBgEl = loopic.getElement("_homeTeamBg");
   homeBgEl.domNode.style.background = "red";
   const homeTextEl = loopic.getElement("_t1score");
   homeTextEl.domNode.style.color = "white";

   const awayBgEl = loopic.getElement("_awayTeamBg");
   awayBgEl.domNode.style.background = "silver";
   const awayTextEl = loopic.getElement("_t2score");
   awayTextEl.domNode.style.color = "black";
}

// Make similar function setAwayTeamRed() {}
Hope you got an idea of how this can be done. It involves coding but that is the only way to achieve this. Loopic API is explained in the docs section on the website.
2 Likes
@imare, I just wanted to say congratulations on an excellent application! All other ways of creating simple (and somewhat advanced) HTML templates were quite complex. With the loopic, it is very simple. If one has a basic previous understanding of some animation tools and checks the tutorial - that is it ![]()
2 Likes
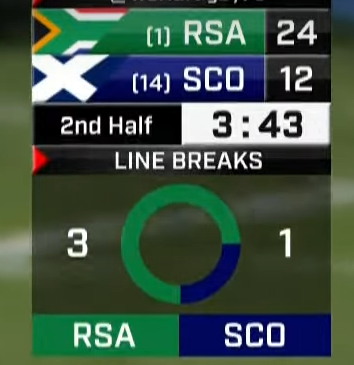
Hi @imare I’m looking into building modern titles for sporting events where I want to visually give an estimated percentage for comparisons and stats. Here is an example of what I’m looking to do, I want to create a bar that represents the full 100% of whatever stat I want to show eg. tackles and then dynamically have the bar animate to the correct percentages eg. 3-7 then one side of the bar should be 30% of the length and the other side of the bar should be 70% of the full width/height.
Is there possibly a way to do this in Loopic, definitely a good feature to have. Love the work you do, you’ve really made it so simple to create dynamic templates
In theory, you can make something like that in Loopic. That would require custom CSS and Javascript. At this moment, Loopic does not have any tools that could help you achieve those results without any coding.
Although the Loopic project seems like it’s standing still, it’s not. Soon there will be a set of features that will make developing results like this one much easier.
4 Likes
hi @imare, is there a tutorial or a project file on how I can create a lower third whose text box automatically adapts to the length of the text entered?
So the box of the lower third should have a minimum and maximum length, but should adapt to the length of the text between these two values.
I think a tutorial or project file with these properties would help many of us and would be great.
2 Likes
Hi, here is an example project file.
The text field is named _headline and all the code is the composition action - there you can set your own stylings.
You can duplicate this code or copy it to a dedicated function and have it executed for multiple text fields. Let me know if you have any questions.
1 Like
Here is my lower third
i was hoping for some code that i can use inside of loopics action Editor and with an existing shape in loopic.
i get your code to work with my lower third after modifying the html, but the position of the text moves when i add the code.
it would be a lot easier to build the lower thirds when the text stays at the position and the box forms around the text
Image 1:
White Box build in Loopic as a Shape

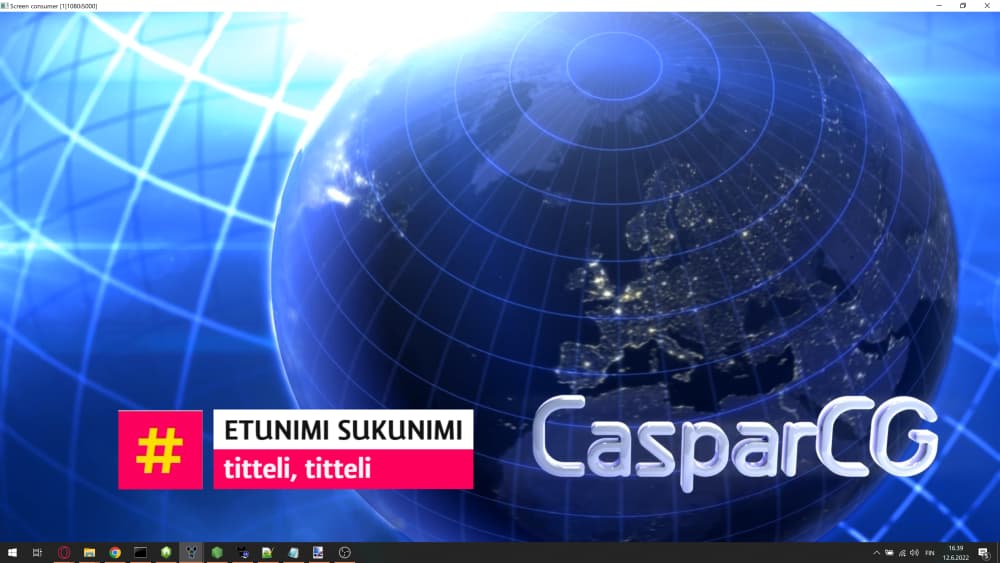
Image 2:
White Box build in Loopic as a Shape
Pink Box built with the Code in the HTML File
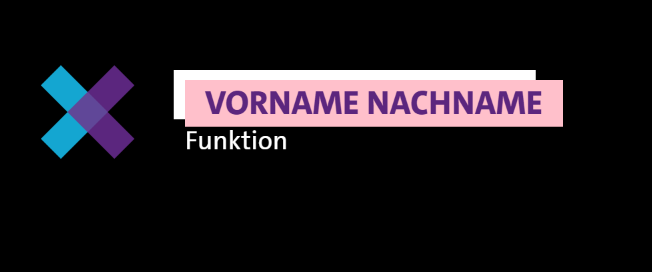
You Can see the Offset of the text through the code
So in the Composition action, there is a block of code where you modify the padding. Text offsetting in your example comes from the padding, and we can easily fix it if we just move the text up and left.
Here is a modified code that will align dynamic text with your desired design:
// Your styling settings
el.domNode.style.backgroundColor = "pink";
el.domNode.style.padding = "12px 20px";
// Play with the padding

// Add this (and play with the numbers)
el.domNode.style.marginTop = "-15px";
el.domNode.style.marginLeft = "-18px";
So just add/replace this with the Composition action code from the files I sent earlier.
And sorry for my late reply.
Hi
Played around with this template a bit but I have a tamplate where I have 2 rows (f1=NAME & f2=occupation) but I would like to have the growing background to be two-colored for each row and the lenght corresponding to f1.
I dont seem to be able to get Loopic to understand that the backgroundcolor should be “linear-gradient”.
Is it possible?
Ideal would be that the lenght would correspont to the longer value- but in 90% of times its the F1 so I think that would be good enough.
br markus
HI
solved it
it was easier than I though I made for f2 another constant “ek”
       loopic.useOnUpdate("f1", (dynamicId, value, next) => {
  const el = loopic.getElement("f1");

  el.domNode.innerHTML = value;


  // Here you set min and max widths
  const minWidth = 200;
  const maxWidth = 1300;

// Your styling settings
	el.domNode.style.background = "linear-gradient(white 50%, rgba(252, 0, 92, 1) 50%)";
	el.domNode.style.padding = "15px 20px";
// Play with the padding

  // Add this (and play with the numbers)
	el.domNode.style.marginTop = "-15px";
	el.domNode.style.marginBottom = "215px";
	el.domNode.style.marginLeft = "-20px";


  // General style settings, should not be modified
  el.domNode.style.width = "auto";
  el.domNode.style.boxSizing = "border-box";

 // Magic
  const bounds = el.domNode.getBoundingClientRect();
  const realWidth = bounds.width;
  if (realWidth < minWidth) {
    el.domNode.style.width = minWidth + "px";
  } else if (realWidth > maxWidth) {
    el.domNode.style.width = maxWidth + "px";
    loopic.autoSqueeze(el.domNode);
  }
})


      loopic.useOnUpdate("f2", (dynamicId, value, next) => {
  const ek = loopic.getElement("f2");

  ek.domNode.innerHTML = value;


  // Here you set min and max widths
  const minWidth = 200;
  const maxWidth = 1300;

  // Your styling settings
	ek.domNode.style.background = "";
	ek.domNode.style.padding = "15px 20px";
// Play with the padding

  // Add this (and play with the numbers)
	ek.domNode.style.marginTop = "-15px";
	ek.domNode.style.marginBottom = "215px";
	ek.domNode.style.marginLeft = "-20px";


  // General style settings, should not be modified
  ek.domNode.style.width = "auto";
  ek.domNode.style.boxSizing = "border-box";

 // Magic
  const bounds = ek.domNode.getBoundingClientRect();
  const realWidth = bounds.width;
  if (realWidth < minWidth) {
    ek.domNode.style.width = minWidth + "px";
  } else if (realWidth > maxWidth) {
    ek.domNode.style.width = maxWidth + "px";
    loopic.autoSqueeze(ek.domNode);
  }
})
Sorry for the bad code ![]()
br markus
1 Like
Hi, is there a way to define a textfield to behave as a countdown?
I want f1 to be a countdown field, so when i enter 10, a countdown from 10 minutes starts and displays as 10:00. If the countdown is over i want to see 00:00 or even better a new Text that says “starting now” or somthing simular
Hi, yes, there is a way. But a very Javascript way.
Basically, you would need to add one text middleware that will be executed on every text update. For example:
loopic.useOnUpdate("_time", (dynamicId, value, next) => {
     startTimer(value);
});
And then startTimer should be a function that will take the minutes value and convert it to real time and call the timeout method to decrement seconds/minutes. The Internet is full of tutorials on how to make a simple count down timers, so I recommend you to check some of them.
And in order to display updated time in the text field, you just need to get the text field element and edit its content, something ike this:
const el = loopic.getElement("_myTime");
el.domNode.innerHTML = MINUTES + ":" + SECONDS;
1 Like
Hi
Not a solution, but could be part of your solution.
Many yearsa ago when I was doing a tutorial for simple sportsstreaming with OBS I came upon a OBS standalone plugin called Snaz.
It basically generates a autoupdate file whos content you then can read and add as metadata in your graphics.
The reason for me to mention it is that you can use it as a “client” for other things than countdowns to.
br markus.
1 Like
Very cool. I did find what I think is a small issue. I added an SVG layer, and in the loopic editor, it seemed to work as it should. I did an ‘export as CasparCG Graphic’, and got a single file, but when I use that within Chrome, the SVG is nowhere to be seen!
I also tried to add the SVG to the resources, but, dragging and dropping did not seem to allow it to be added, and, I did not see any way to associate the .svg file with the set of resources.
I’m expecting to be able to associate the SVG with the resources so that it will also be bundled with the rest of the exported ‘stuff’.
Should I be doing something else?
Keep up the good work!
Well, interesting! I might have had something wrongly set, but, I did another export, and, the SVG is manifesting in the resulting exported html file, but, it’s not listed as part of the resources. It would be really nice if the SVG can be re-loaded without having to toss away the entire layer and start over.